Here, we will explore a variety of oil paintings, how to appreciate them, and gain insight into the artists' inner worlds. Let us take you on a journey into the fascinating world of oil painting.
Light plays a starring role in any beach painting. It touches everything—sand, sky, and water. A strong light source adds realism and drama. In beach scenes, sunlight should always have a direction—make sure your shadows agree with it.
Golden Hour or High Noon? Pick Your Time
The time of day affects everything. The “golden hour” has soft, warm tones with long shadows. Noon gives bright whites, bold blues, and high contrast. Decide on the time first—your palette depends on it.
Texture Tricks for Realistic Sand and Water
Don’t paint the beach like a flat carpet. Use thick strokes (impasto technique) or even a palette knife to give the sand some grainy texture. For water, layering translucent blues and greens creates depth. Soft blending works best where water meets sky.
Color Mixing Tips
Avoid using just “straight out of the tube” blue for the ocean. Mix it! Try ultramarine with a touch of burnt sienna, or cobalt blue with titanium white. Mix colors on the canvas to create more natural transitions.
Adding Realism with Contrast
Your painting pops with contrast. Highlight edges where light hits. Add deeper shadows under waves or behind dunes. And don’t forget the soft glow at the horizon—it gives your scene that dreamy quality.
Learning oil painting is a blend of technique, patience, and creative freedom. This guide breaks down beginner-friendly steps that will help you grow as an artist.
Set Up Your Workspace
A well-organized, ventilated space with proper lighting helps you paint with focus and safety.
Basic Color Mixing
Use a limited palette to learn color harmony. Try mixing secondary and tertiary colors to improve your understanding of tones and contrasts.
Brush Handling Techniques
Stippling: Dabbing to create texture.
Dry Brush: Skim the canvas for a rough effect.
Scumbling: Light dragging for a misty, broken color look.
Inspiration from Artists
Frida Kahlo overcame physical hardship through painting. Her oil works reflect emotion and technical skill developed through persistence and practice.
Many artists are now looking for ways to clean their brushes without using harsh chemicals. This blog explores safe, environmentally friendly alternatives to traditional solvents that still effectively clean oil paint from your brushes.
Why Go Solvent-Free?
Solvents like turpentine can emit harmful fumes and are not eco-friendly. If you have allergies, children, or pets, it’s worth considering safer methods.
Eco-Friendly Cleaning Techniques
1. Wipe First Remove as much paint as possible using an old rag or paper towel.
2. Use Natural Oils Vegetable oil or linseed oil can loosen the paint. Dip the brush in oil and swirl it gently. Wipe off the residue with a cloth.
3. Clean With Dish Soap After using natural oil, wash the brush with warm water and eco-friendly dish soap. Work it into the bristles to remove all paint and oil.
4. Rinse and Shape Rinse thoroughly, reshape the bristles, and let the brush dry flat or upright.
The sunset sky is a brilliant display of nature’s palette. For beginners, mastering color blending and harmony is key to painting compelling sunsets. This article focuses on how to mix and layer colors to achieve breathtaking sunset effects.
The Essential Sunset Palette
Start with warm tones like Cadmium Yellow, Vermilion, Alizarin Crimson, and cool hues like Ultramarine Blue and Dioxazine Purple. Use Titanium White for blending.
Gradient Sky Technique
Apply a wet-on-wet technique to blend from light yellow at the horizon to rich reds and purples at the top. Use a wide flat brush to make horizontal sweeps for a soft, gradient sky.
Sun Glow Effect
To paint the sun, reserve a circular area of the canvas. Add a white or pale yellow halo around it using soft dry brushes. This glow effect creates realism and warmth.
Color Harmony and Balance
Use analogous colors (colors next to each other on the color wheel) to maintain harmony. Avoid over-mixing, which can dull the vibrancy of your sunset.
Blending Tips
Always clean your brush between strokes to avoid muddying the colors. Use a sponge or fan brush to blend colors seamlessly.
Understanding color theory and blending techniques allows beginners to paint sunsets that feel alive. Master these basics and your sunset art will captivate viewers.
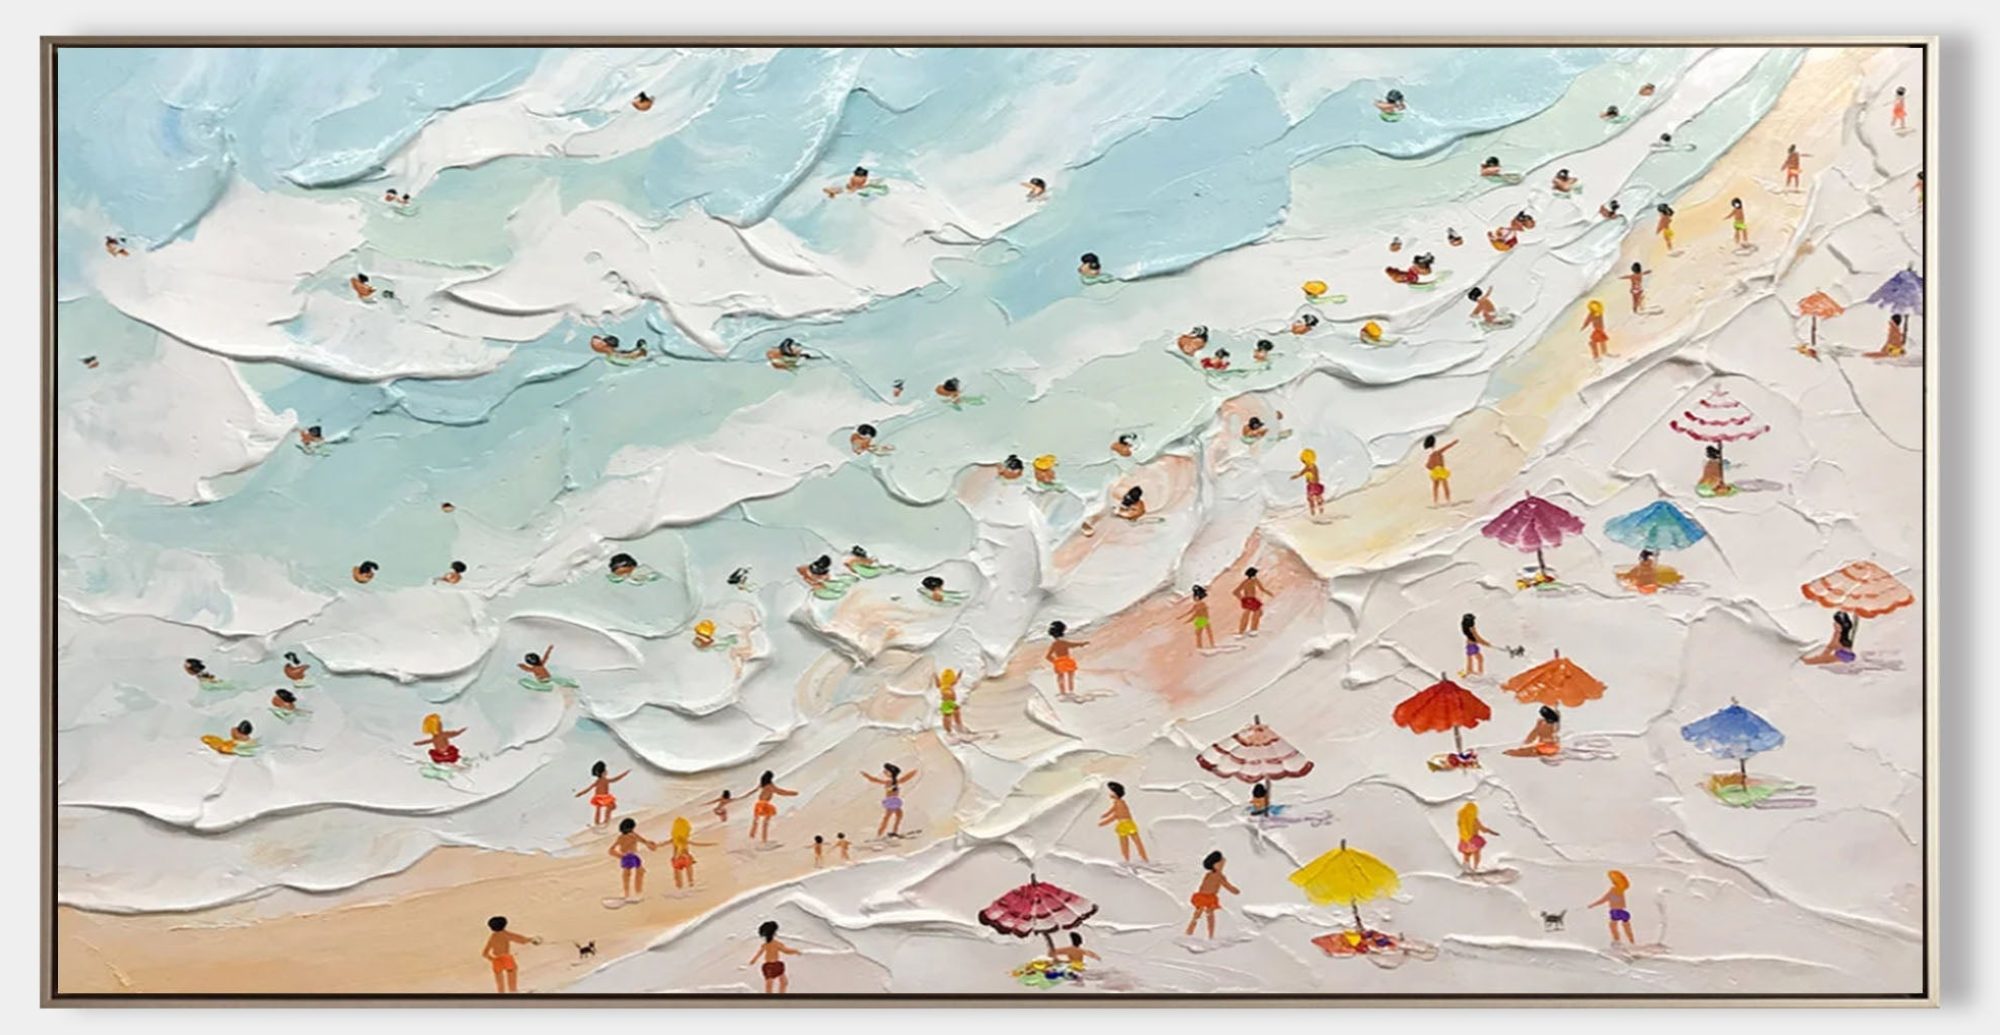
Beaches offer a rich tapestry of textures, from smooth sands to rugged rocks. Capturing these elements in oil painting adds authenticity to your seascapes. “Deep Green Sea Textured Painting” showcases the effective use of texture to depict a lifelike shoreline.
Observing Beach Elements
Study the various components of a beach: wet and dry sand, pebbles, shells, and driftwood. Each has a unique texture that can be replicated with specific techniques.
Materials Needed
Canvas: Primed and ready for oil paints.
Oil Paints: Burnt Umber, Yellow Ochre, Titanium White, and others for detailing.
Tools: Palette knives, coarse brushes, sponges.
Techniques for Sand Texture
Use a mix of sand and paint or modeling paste to create a gritty texture. Apply with a palette knife, varying the pressure to mimic natural undulations in the sand.
Incorporating Beach Debris
For elements like shells or driftwood, use fine brushes to add intricate details. Highlighting and shading are crucial to make these objects stand out against the sandy background.
Blending with the Ocean
Ensure a seamless transition between the beach and the ocean. Gradually blend the sandy textures into the wave patterns, maintaining consistency in lighting and color tones.
One of the most important aspects of creating a successful oil painting is composition. Composition refers to how the elements in your artwork are arranged on the canvas. Good composition leads to a balanced, visually appealing painting, while poor composition can make the piece feel chaotic or incomplete. In this blog, we’ll focus on how to apply composition principles to painting flowers, making your still-life art more engaging and harmonious.
The Rule of Thirds: A Simple Start
A great starting point for beginners is the rule of thirds. This guideline suggests dividing your canvas into nine equal sections by drawing two horizontal lines and two vertical lines. The points where these lines intersect are ideal spots to place the most important elements of your painting—in this case, your flowers.
For example, if you’re painting a vase of sunflowers, place the main flower near one of the intersections, rather than dead center. This will draw the viewer’s eye naturally and give the painting a sense of movement. It’s a simple but effective way to ensure your painting feels balanced.
The Golden Ratio: A More Advanced Approach
Once you’re comfortable with the rule of thirds, you can experiment with the golden ratio, a mathematical ratio that’s often seen in nature. It creates a spiral pattern, which can be used to arrange the elements in your composition. You can imagine a spiral forming from the center of the canvas and placing your flowers along that curve. This subtle technique helps create harmony and flow within your artwork.
Leading the Viewer’s Eye: Focal Points and Pathways
As you paint flowers, it’s important to guide the viewer’s gaze across the canvas. Use contrasts in color, light, and texture to create focal points. For example, if you’re painting daisies, make the center of the flower brighter, using light yellow or white, to pull the viewer’s attention. To lead the eye further, soften the edges of the petals, gradually fading the color into the background.
A Beginner’s Story: Finding Balance
When I painted my first flower still life, I placed all the flowers tightly together in the center of the canvas. While the flowers looked beautiful, the composition felt off-balance. After reading about the rule of thirds, I moved a few flowers to the side and introduced some empty space. This simple shift made the entire painting feel more dynamic and comfortable to look at.
Conclusion: Composition Is Key to Beautiful Oil Paintings
A well-composed oil painting can make your flowers come to life, guiding the viewer’s eye and creating harmony. Whether you follow the rule of thirds, experiment with the golden ratio, or simply play around with placement, composition is something you can improve over time. The more you practice, the more intuitive it becomes!