< img src="https://mc.yandex.ru/watch/101233294" style="position:absolute; left:-9999px;" alt="" />

Easy Ways to Paint Flowers in Oil for Beginners

Oil painting can feel scary at first, right? But painting flowers is actually one of the easiest and most relaxing ways to start! If you’re looking to dip your brush into the world of oil painting, simple flowers are the way to go.

Pick a Simple Design First

The biggest mistake beginners make? Picking complicated flowers with crazy details.
Start simple. A few good options:

  • A basic daisy with five to seven petals
  • A loose tulip
  • A big, bold sunflower

Don’t try to make them look photo-perfect.
Loose, flowing petals feel much more lively and natural anyway.

Keep Your Color Palette Small

You don’t need all the colors in the world to make a stunning flower painting.
Try limiting yourself to 3–5 colors max. For example:

  • White
  • Lemon yellow
  • Crimson red
  • Sap green
  • Ultramarine blue

Keeping the palette small actually makes blending easier!

Big Brush, Big Moves

Instead of stressing over little brushes and tiny lines, use a big brush. Seriously.
It forces you to focus on shapes and movement instead of little mistakes.

Lay down bold petals with confident strokes. Then, refine edges if you want, but don’t overwork it — flowers are all about that natural flow.

Bonus Tip: Let Layers Dry

Oil paints take longer to dry.
If you want to add highlights or extra details later, wait until the first layer is touch-dry. Otherwise, you risk muddying your colors.

Patience = better flowers!

Wrap Up

Painting simple flowers is a wonderful way to learn oils without stress.
And if you’re craving gorgeous flower art for your walls but don’t have time to paint, check out our abstract wall art collections featuring stunning floral designs at okarty.com!
Finding the Right Height: How to Hang Different Oil Paintings Perfectly

Hanging a painting isn’t just about finding a free spot on the wall. It’s a creative choice that can seriously change the whole vibe of a room. Whether it’s a richly textured oil painting, a soft wabi-sabi canvas, or a bold colorful abstract, the right height matters. So, how high should you actually hang your artwork? Let’s dive in!

The Golden Rule: 57–60 Inches from the Floor

Most interior designers agree: the center of the artwork should sit around 57 to 60 inches from the floor. This is about eye-level for an average adult. If you stick to this, your art will feel naturally connected to the space, not floating awkwardly above it.

Quick tip:
If you have higher ceilings (like 10 feet or more), you can raise the center up to around 62 inches — but always step back and check if it feels comfy!

Hanging Art in Different Rooms

Living Room:
For a cozy and connected feel, hang textured or colorful oil paintings above your sofa so the bottom edge is 6–8 inches above the top of the sofa. This pulls the painting into the room and avoids that “art floating in space” look.

Dining Room:
Because you’re usually seated, hang paintings slightly lower here. Keep the center still around 57 inches, but don’t be scared to drop it by an inch or two if it feels right.

Bedroom:
Above the bed, a wabi-sabi painting looks great if you leave about 8 inches between the headboard and the bottom of the frame. Don’t hang too high — your painting should feel like part of the bed ensemble, not way up on its own.

Hallways:
Since people are standing when they walk by, 57–60 inches still works beautifully for abstract or colorful pieces. Also, in narrower spaces, you can group several small works together at the same center line.

Matching the Style to the Hanging

  • Textured Oil Paintings: These work best when hung where light hits them from the side. Stick to standard eye level so the viewer can admire all the delicious texture details.
  • Wabi-Sabi Oil Paintings: Go for a slightly lower hang, maybe center at 56–58 inches, to create a relaxed, grounded atmosphere.
  • Colorful Oil Paintings: These pieces love the spotlight. Hang them at normal eye level and put them where sunlight or good lighting will show off the bright colors.
  • Abstract Oil Paintings: Abstracts can sometimes break the rules. Center them at 58–60 inches or slightly higher if they’re tall vertical pieces.

Common Mistakes to Dodge

  • Too High: It’s tempting, but hanging too high makes the art disconnected. Always measure before hammering!
  • Wrong Size Above Furniture: The painting should be about 2/3 the width of the furniture it’s above, like a couch or console.
  • Ignoring Wall Size: Tiny paintings on huge walls get lost. Either pair small artworks together or go bigger.

Hanging Tips and Tricks

  • Use Paper Cutouts: Tape paper shapes the size of your paintings on the wall first to visualize the placement.
  • Level and Spaced: Keep groupings level and spaced about 2–5 inches apart.
  • Lighting Matters: Good lighting can make a painting sing. No direct harsh lights though — especially for textured oils!

Hanging your oil paintings at the right height isn’t hard once you know the tricks. Trust your eye, measure carefully, and don’t stress if you adjust a few times. Your walls will thank you!

Unlocking Your Creativity – Abstract Oil Painting Techniques for Beginners

Forget the Rules (Well, Most of Them)

Abstract art isn’t about following strict rules. In fact, it’s often about breaking them! Let go of the idea that a painting must “look like something.” Focus instead on the feeling and rhythm of your brushstrokes.

Start with Movement

Before you even dip into color, start moving. Make sweeping gestures in the air or rough sketches with charcoal. This warms up your muscles and gets you out of “thinking” mode and into “feeling” mode.

Layering: The Secret Weapon

Abstract paintings usually aren’t built in one go. Try layering different colors and textures over time. Allow each layer to dry partially before adding the next. This creates visual richness that a flat painting just can’t match.

The Beauty of Imperfection

Mistakes? In abstract art, they’re treasures. That random splatter or uneven stroke adds authenticity. Abstract painting rewards bravery over precision every single time.

Trust Your Eye

Step back often and look at your work from a distance. Does your eye move easily across the canvas? Are there areas where you naturally linger? Use those observations to adjust, highlight, or balance your piece.

Reference Reading

A Beginner’s Guide to Understanding Abstract Oil Painting: Feel It Before You Paint It

Textured Tranquility: How “The Earth’s First Light Under the Night” Enhances Modern Interiors

Introduction: The Allure of Texture in Art

Texture in art adds a tactile dimension that engages viewers beyond the visual. “The Earth’s First Light Under the Night” utilizes rich textures to create a sense of depth and movement, making it a captivating addition to any modern interior.​

Visual and Tactile Harmony

The painting’s layered textures mimic natural elements like stone and earth, grounding the viewer and connecting the indoor space with the natural world. Its neutral tones and organic patterns harmonize with contemporary design elements, adding warmth and character.​

Complementing Modern Spaces

This artwork is versatile, enhancing spaces like living rooms, offices, or entryways. Its understated elegance complements modern furnishings, while its textured surface adds an element of intrigue and sophistication.​

Invoking Thought and Emotion

Beyond aesthetics, the painting invites contemplation. Its abstract forms and subtle contrasts encourage viewers to pause and reflect, making it more than just decor—it’s a conversation piece.​

Our Commitment to Quality

We offer this exquisite piece with the assurance of top-notch quality, competitive pricing, and prompt delivery. Our customer-friendly policies, including free returns and exchanges, ensure satisfaction with every purchase.

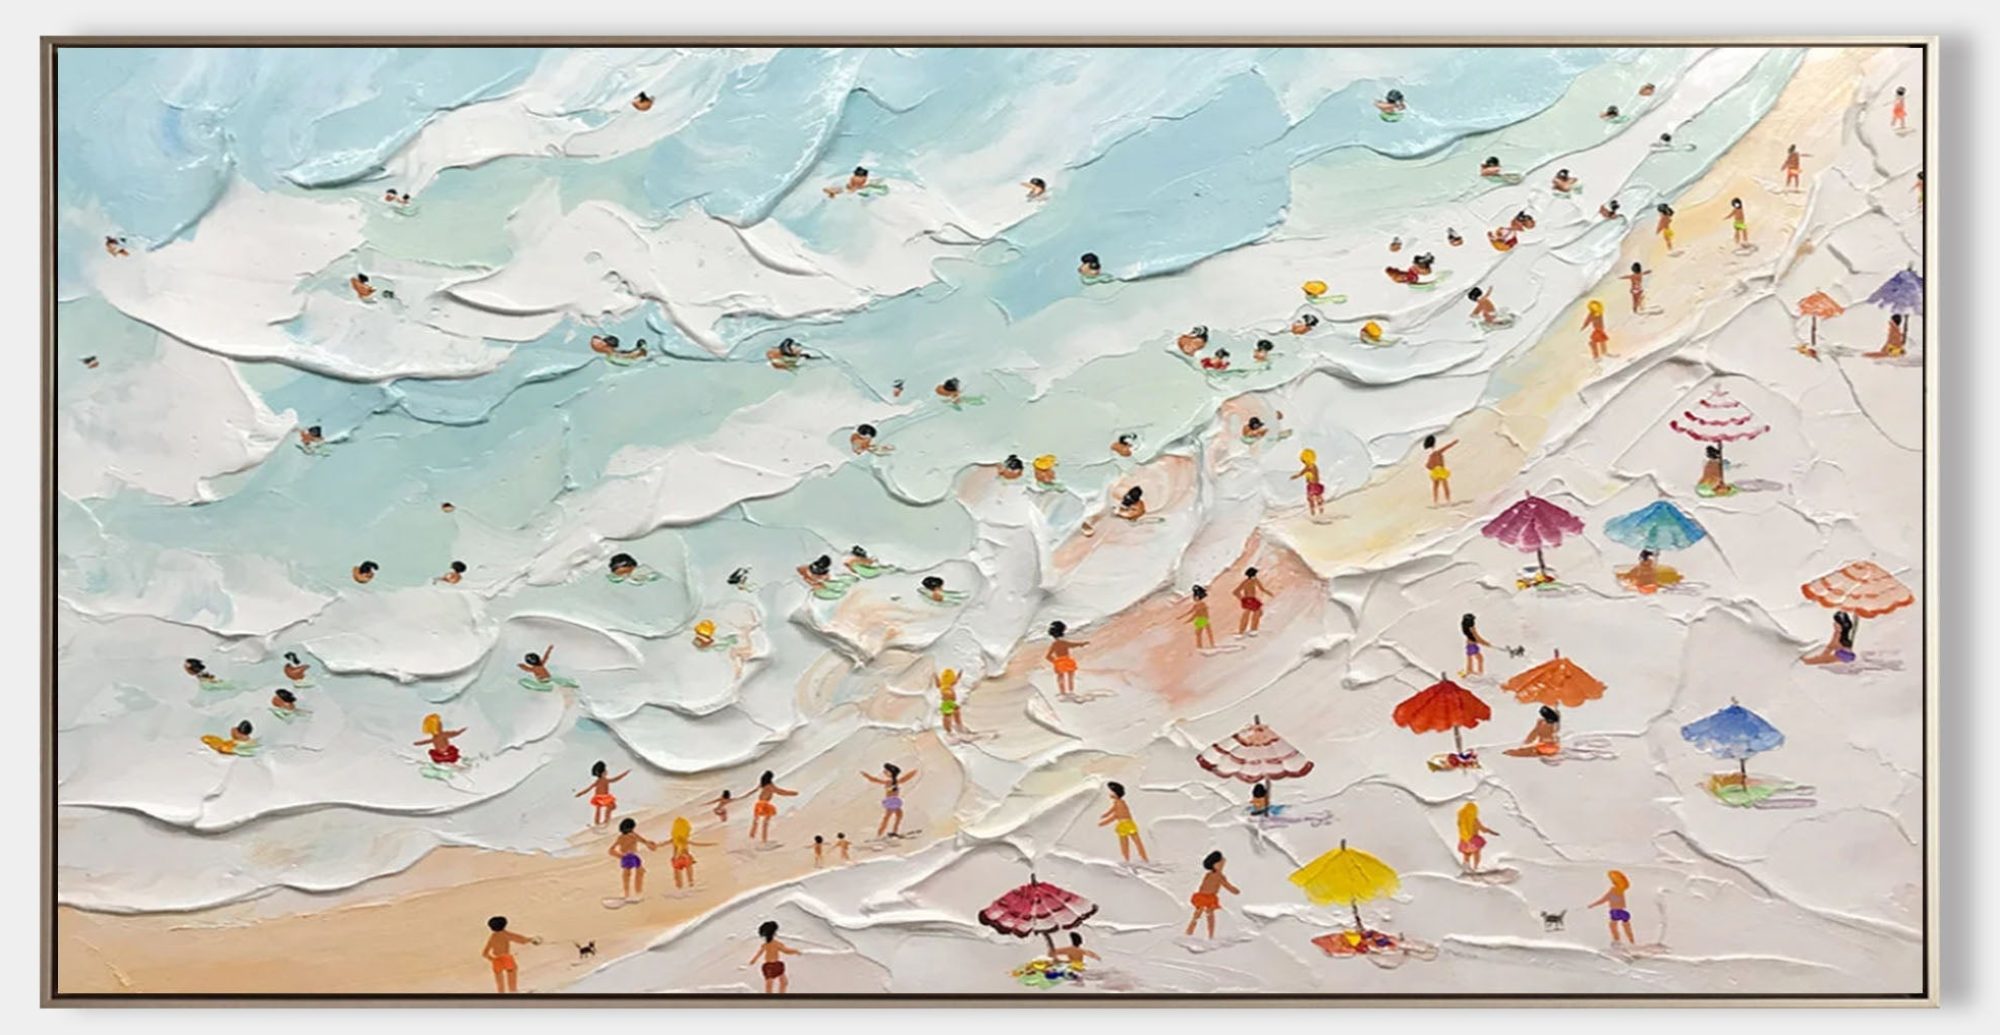
Painting Light and Texture in a Beach Scene – The Essential Guide

Understanding Light in Coastal Landscapes

Light plays a starring role in any beach painting. It touches everything—sand, sky, and water. A strong light source adds realism and drama. In beach scenes, sunlight should always have a direction—make sure your shadows agree with it.

Golden Hour or High Noon? Pick Your Time

The time of day affects everything. The “golden hour” has soft, warm tones with long shadows. Noon gives bright whites, bold blues, and high contrast. Decide on the time first—your palette depends on it.

Texture Tricks for Realistic Sand and Water

Don’t paint the beach like a flat carpet. Use thick strokes (impasto technique) or even a palette knife to give the sand some grainy texture. For water, layering translucent blues and greens creates depth. Soft blending works best where water meets sky.

Color Mixing Tips

Avoid using just “straight out of the tube” blue for the ocean. Mix it! Try ultramarine with a touch of burnt sienna, or cobalt blue with titanium white. Mix colors on the canvas to create more natural transitions.

Adding Realism with Contrast

Your painting pops with contrast. Highlight edges where light hits. Add deeper shadows under waves or behind dunes. And don’t forget the soft glow at the horizon—it gives your scene that dreamy quality.

Reference Reading

How to Paint a Simple Beach Scene in Oil: A Beginner’s Step-by-Step Guide (with video)

Elevate Your Living Space with Abstract Soul – “Phantom of the Soul in Brushstrokes”

A Masterpiece Beyond Words

Abstract art often speaks when words fall short—and Phantom of the Soul in Brushstrokes does just that. It’s not about what you see at first glance; it’s about what you feel after lingering a little longer. The layered strokes and nuanced shading create a visual rhythm that seems to breathe. It feels alive—like a fleeting thought captured mid-flight.

Designed for Dreamers and Thinkers

This painting is perfect for people who want more from their home than just comfort. It’s for the ones who want atmosphere. Place it in a quiet study or reading nook, where sunlight can gently skim across its textured surface. It adds a thoughtful, serene presence that’s ideal for meditative or creative spaces.

Pairing It with Interiors

Its sophisticated color palette—earthy browns, stormy greys, and soft neutrals—blends effortlessly into Scandinavian, industrial, or contemporary styles. Whether hung above a dark wooden sideboard or next to sleek shelving units, the artwork grounds the room with subtle drama.

Art That Leaves an Imprint

This painting doesn’t give you answers—it gives you questions. It challenges viewers to interpret its energy on their own terms. That’s the power of abstract art: its ambiguity becomes a canvas for the viewer’s own emotions. As Picasso once said, “Art washes away from the soul the dust of everyday life.”

Why Choose Okarty?

Buying from okarty.com isn’t just a transaction—it’s a commitment to quality and service:

  • Hand-painted using premium oils and fine canvas.
  • Competitive prices that don’t break the bank.
  • Speedy, secure shipping to your door.
  • Return & exchange policy with free returns (conditions apply).

Bring this poetic canvas into your world and let it speak in your space.

How to Improve Your Oil Painting Skills by Practicing the Fundamentals

Introduction: The Importance of Basics

When it comes to oil painting, getting the basics right is crucial. Whether you’re a beginner or an intermediate artist, mastering the fundamentals will provide the foundation needed for creating beautiful works of art. In this blog post, we’ll focus on the essential practices that will help you improve your oil painting skills.

1. Color Theory: The Key to Harmonious Paintings

Understanding color theory is essential in oil painting. Colors are the building blocks of every painting, and using them effectively can make a huge difference. Start by practicing mixing primary colors to create secondary and tertiary hues. Experiment with complementary and analogous color schemes to achieve balance and harmony in your work.

2. Brush Techniques: Control and Precision

Oil painting is all about brush control. Developing your brushwork will allow you to create textures, depth, and details. Start by practicing different brush strokes on a separate canvas before applying them to your main work. Use soft strokes for blending and stronger, more pronounced strokes for texture.

3. Lighting and Shadow: Bringing Depth to Your Paintings

Mastering the use of light and shadow can transform a flat painting into a dynamic one. Begin by practicing still life studies where you control the light source. Observe how shadows fall and learn how to build depth through shading techniques.

4. A Famous Painter’s Experience: Pablo Picasso

Picasso, one of the most influential artists in history, mastered the fundamentals before creating his iconic works. Known for his exploration of various artistic styles, Picasso’s journey was built upon a strong understanding of basic techniques. His work serves as a testament to the importance of mastering the basics before experimenting with new approaches.

5. Conclusion: Keep Practicing the Fundamentals

Mastering the basics may seem slow at first, but it’s the most efficient way to improve your skills in oil painting. Stay patient and keep practicing consistently—this will lead to noticeable improvements in your work.

Reference Reading

How to Break Through the Oil Painting Struggles and See Real Improvement: A Practical Guide

Your First Strokes: Building Confidence in Oil Painting

Learning oil painting is a blend of technique, patience, and creative freedom. This guide breaks down beginner-friendly steps that will help you grow as an artist.

Set Up Your Workspace

A well-organized, ventilated space with proper lighting helps you paint with focus and safety.

Basic Color Mixing

Use a limited palette to learn color harmony. Try mixing secondary and tertiary colors to improve your understanding of tones and contrasts.

Brush Handling Techniques

  • Stippling: Dabbing to create texture.
  • Dry Brush: Skim the canvas for a rough effect.
  • Scumbling: Light dragging for a misty, broken color look.

Inspiration from Artists

Frida Kahlo overcame physical hardship through painting. Her oil works reflect emotion and technical skill developed through persistence and practice.

Practice Makes Progress

  • Recreate simple still lifes.
  • Follow video tutorials.
  • Keep a sketchbook of ideas and color experiments.

Reference Reading

How to Practice Oil Painting Basics: A Step-by-Step Journey for Beginners (with video)

When Machinery Meets Flesh: The Surreal Reality of Abstract Art in “The Wheels Hung on My Bones”

Introduction: Abstract Art as Surreal Allegory

Abstract art often asks: What if the unseen were more real than the seen?The Wheels Hung on My Bones” presents such a question through its title alone — a surreal, almost dystopian merging of organic and mechanical.

Surrealism Reimagined in Abstract Form

Although not strictly surrealist, the painting leans into surrealist logic: impossible juxtapositions that feel emotionally true. Salvador Dalí once noted, “Surrealism is destructive, but it destroys only what it considers to be shackles limiting our vision.” This painting does just that.

The Human Body as Burdened Terrain

By invoking “bones,” the artist touches on mortality and vulnerability. Wheels hanging on these bones suggest labor, suffering, perhaps even societal machinery imposed upon the individual — a motif often explored in industrial abstract art.

Color and Chaos: Constructing Psychological Dissonance

The palette — likely filled with muted rusts, bruised grays, or mechanical blues — offers emotional turbulence. Texture becomes symbolic of dissonance, like tire tracks over skin, evoking both movement and violation.

Closing: Liberation Through Recognition

Rather than resolve the metaphor, the painting holds it open. That openness is its power. It gives the viewer space to acknowledge, reflect, and perhaps even reinterpret their own inner machinery.

Eco-Friendly Ways to Clean Oil Paint Brushes Without Solvents

Many artists are now looking for ways to clean their brushes without using harsh chemicals. This blog explores safe, environmentally friendly alternatives to traditional solvents that still effectively clean oil paint from your brushes.

Why Go Solvent-Free?

Solvents like turpentine can emit harmful fumes and are not eco-friendly. If you have allergies, children, or pets, it’s worth considering safer methods.

Eco-Friendly Cleaning Techniques

1. Wipe First Remove as much paint as possible using an old rag or paper towel.

2. Use Natural Oils Vegetable oil or linseed oil can loosen the paint. Dip the brush in oil and swirl it gently. Wipe off the residue with a cloth.

3. Clean With Dish Soap After using natural oil, wash the brush with warm water and eco-friendly dish soap. Work it into the bristles to remove all paint and oil.

4. Rinse and Shape Rinse thoroughly, reshape the bristles, and let the brush dry flat or upright.

Benefits of This Method

  • Non-toxic and pet-safe
  • Cost-effective
  • Gentle on bristles

Tips for Better Results

  • Clean brushes immediately after use
  • Store in a dry, well-ventilated area

Reference Reading

How to Properly Clean Paintbrushes After Oil Painting: A Beginner’s Guide